

Multipass is a cross-platform tool that can be used to create ubuntu VMs on Linux, Windows and MacOS. Depending on the platform it can use KVM, Hyper-V ,VirtualBox,Hyperkit among others as back engines for creating the VMs.
You can install multipass on ubuntu with snap

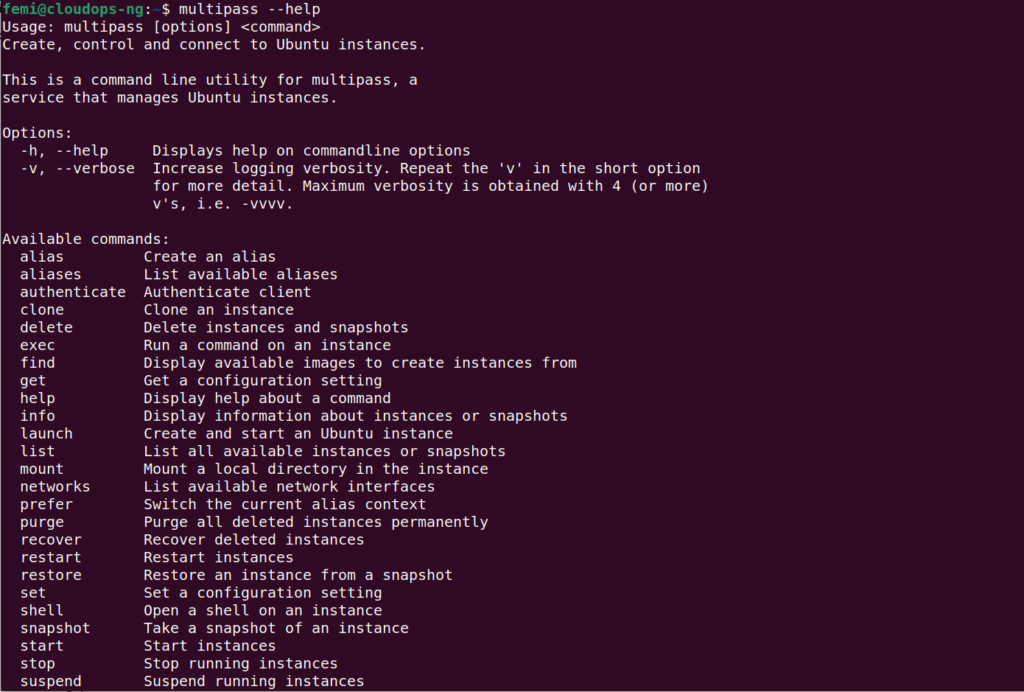
To use multipass, you must be aware of the various commands and options that comes with it. Here the –help option comes in useful as shown in the snapshot below.
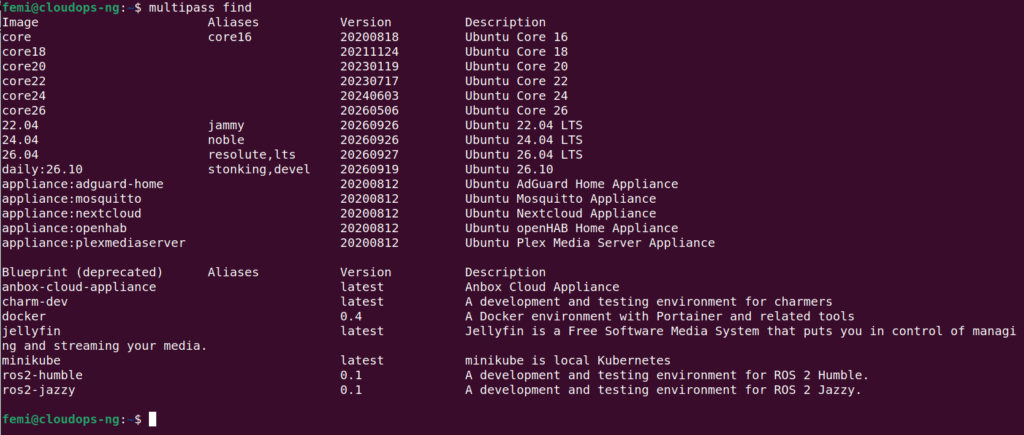
You can find the available images you the multipass find command.
To spin up any of the images multipass launch ImageName command will suffice. For example to spin up a Ubuntu box with minikube pre-installed run the command in the figure below.

To get into the VM one can shell into it using the multipass shell imageName command. After shelling into the VM, one can execute any desired command.
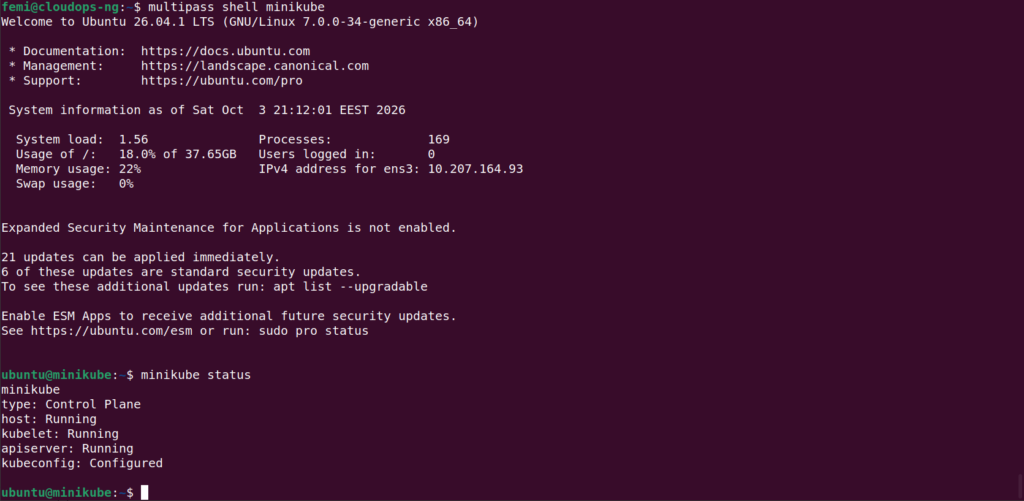
One can get out of the VM shell be executing the exit commandin the VM to get back to the host terminal.

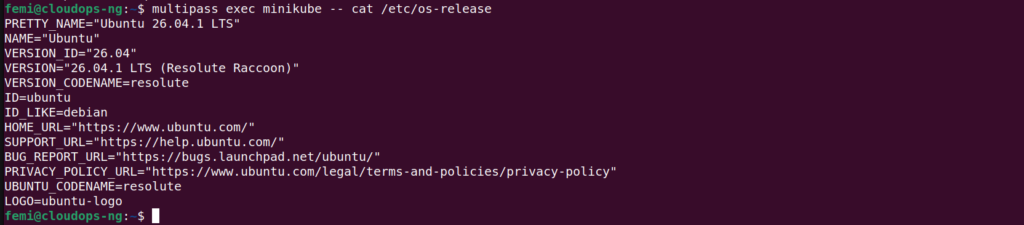
To run one off command in the VM, Multipass exec ImageName — command is the right way to go.
To see the list of OS(es) current running , multipass list command provides the necessary info

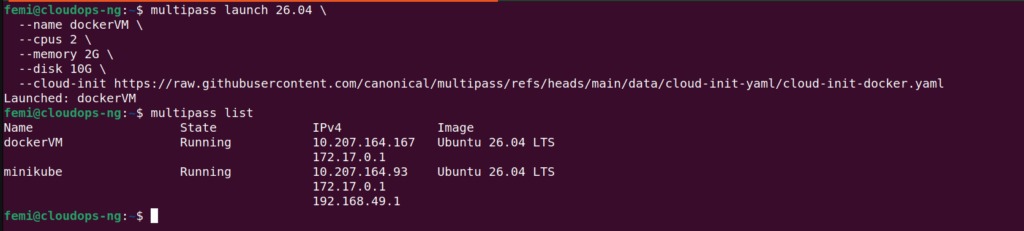
Multipass comes equipped with the ability for its user to spin up VMs that are customise to the user ‘s taste. Parameters like name, memory, cpu, initialisation after bootup with cloud-init config among others can be set at point of creation.
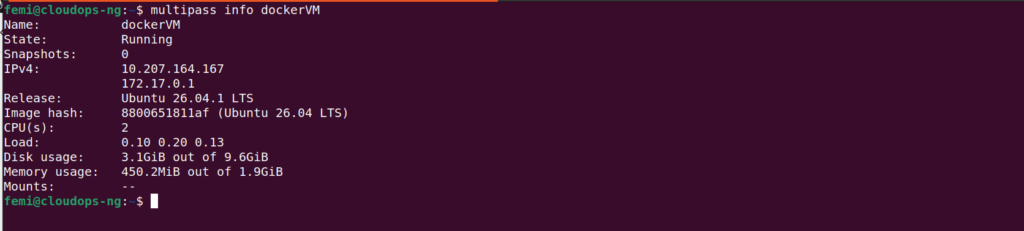
After launching a couple of VMs , it is possible to have forgoten some of the details of their creation or wanting to see how much of resources the VM is consuming, multipass info imageName command provides the needed information about the VM(s).
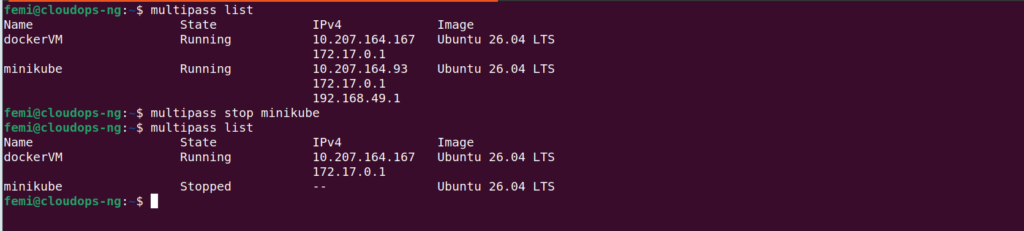
After using multipass , one can stop, suspend, start any VM(s) launched by the tool.
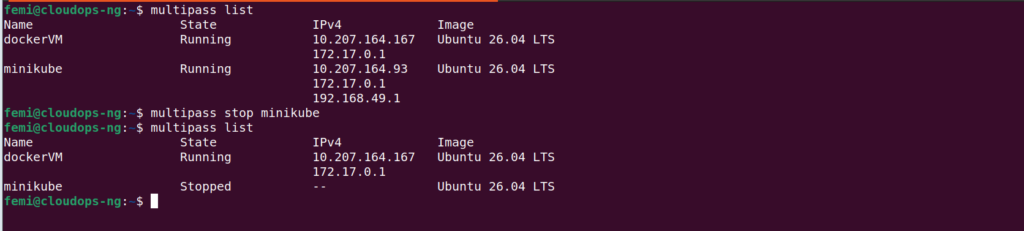


VM(s) launched by the multipass can be deleted,recovered and purged.Stopping a suspended VM require –force flag.
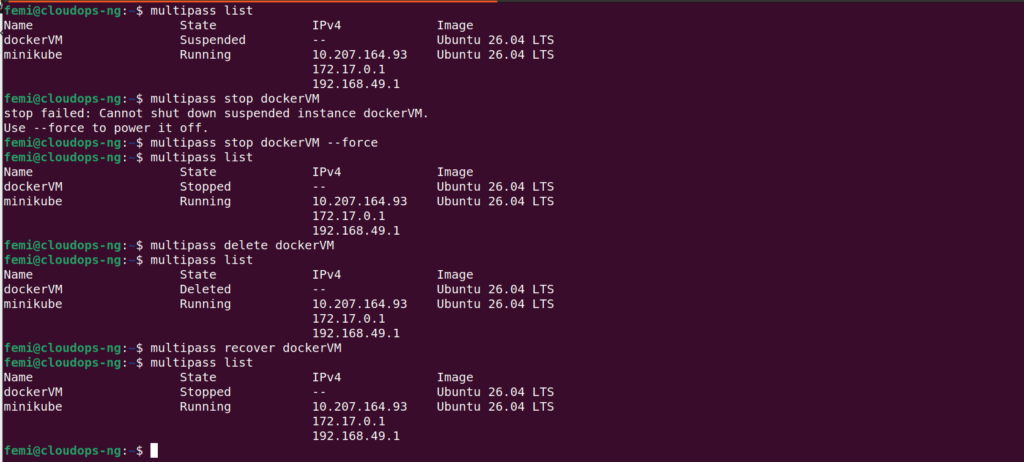
Purging the VMs removes them permanently.

